First there will be possibly another post in 2012. But, for now Happy Christmas/happy holidays, see you in 2013. Bye.
Happy Xmas for 2012
Reply

First there will be possibly another post in 2012. But, for now Happy Christmas/happy holidays, see you in 2013. Bye.
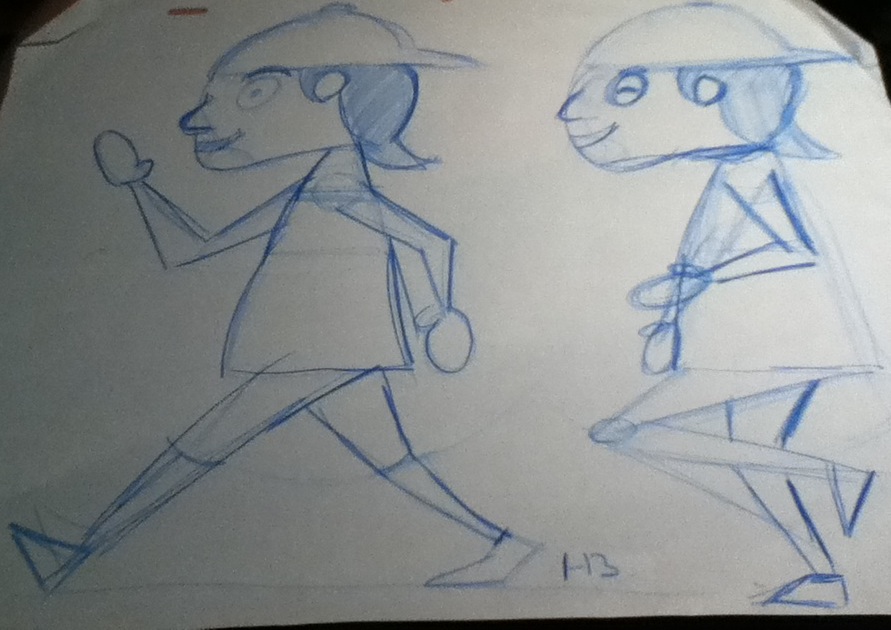
Last two weeks (week 8 and 9) we looked at walk cycles and mood change walks.
We started off with observing peoples walks when they are in different moods in the street. Then afterwards I looked at two different theories of walk cycles, one was Steve Robert’s theory, which I was looked at his basic walk cycle, the angry walk cycle and the depress walk cycle. And give these a try to animate on the lightbox.
And then look at Preston Blair’s theory, which I looked at his skip walk cycle and his basic walk cycle.

And give myself a try on animating the skip walk on the lightbox, and the basic walk cycle in Adobe Flash.
Then in Flash, I tried two different experiments with the simple walk cycle. one was a walking left to right across the screen and the other was walk on spot while the background was moving.
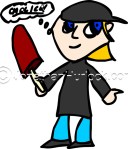
Now I got to do this once again, but this time with my character (Iceman) is supposed to walk in the scene in a certain way, see something that makes him react and go out of the scene walking in a different way. As these screen shots below shows.

So for now.
Bye.


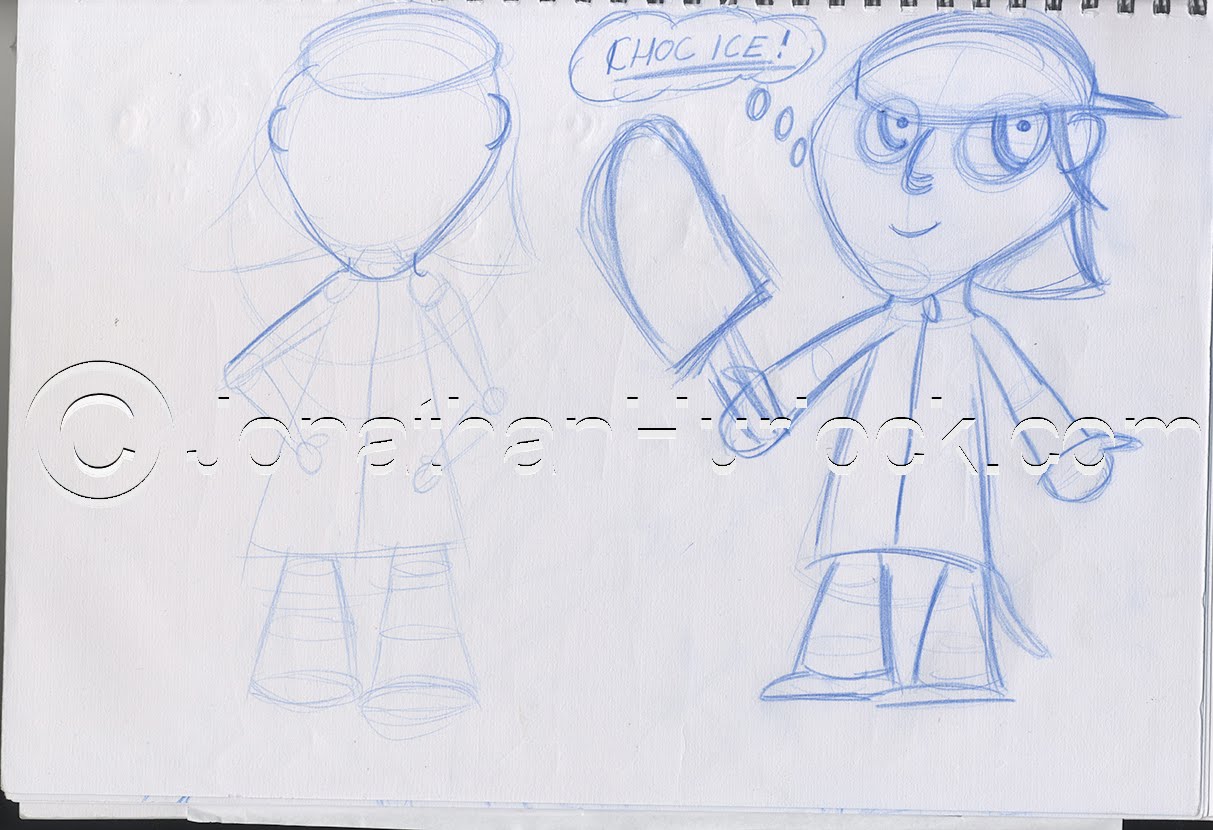
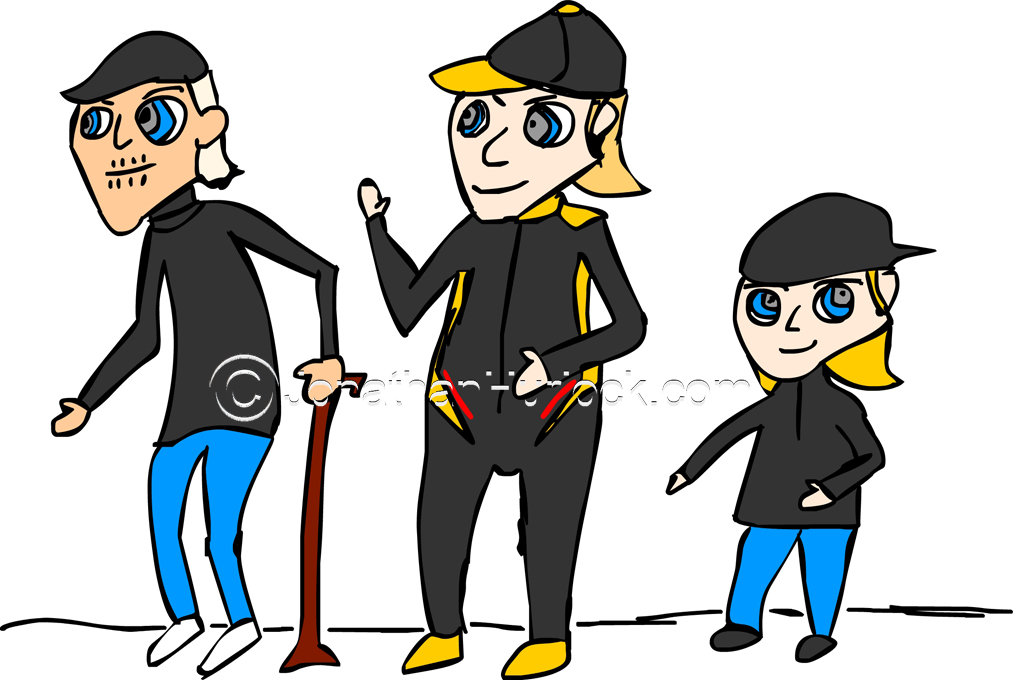
The start of my character design, I am going to based my three characters, one young, one middle of his life and one old as influnce to 2007 Formula 1 World Champion Kimi Raikkonen.
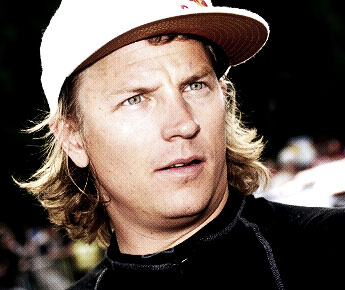

I reckon this would work well due to Kimi’s characteristics such as choc-ice incidence in Malaysia 2009, some people say he could be the love child of James Hunt and saying things shouldn’t be saying in interviews and so forth.
I Started off to look at Formula 1 based animation and comic books, and the first thing I have find was Sennninha. Senninha is a Brazilian comic book character based upon the Formula One world champion Ayrton Senna. Senninha was launched in 1994 and was cancelled in the same year before returning in 2008.

Senninha (little Senna) was created by Rogério and Ridaut, and the reason this was created due to Rogério and Ridaut passion of Formula 1 and Ayrton Senna. So they decided to create a comic, which would be a copy of Senna, a little Senna and Senninha was born.
Senninha is the main character of the series, with characteristics very similar to Ayrton Senna, with unruly hair and red overalls (like the McLaren overalls Senna raced in that period). Also, Senninha was eight years old in the comics.
Both Rogério and Ridaut didn’t have the money to publish it, so they decided to go to Ayrton Senna. When they met, Senna loved the idea and he always wanted to do something for the children, he wanted to be educational as-well to help his charity work in Brazil. This was the best way with the Senninha character.
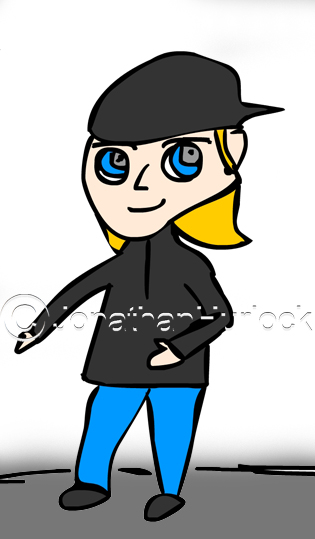
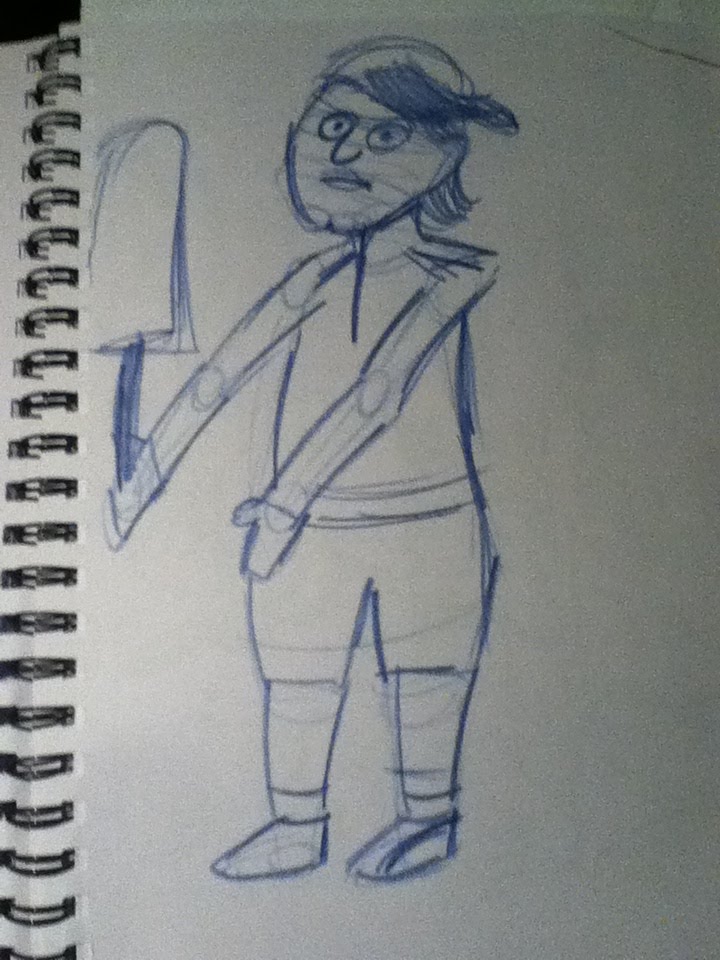
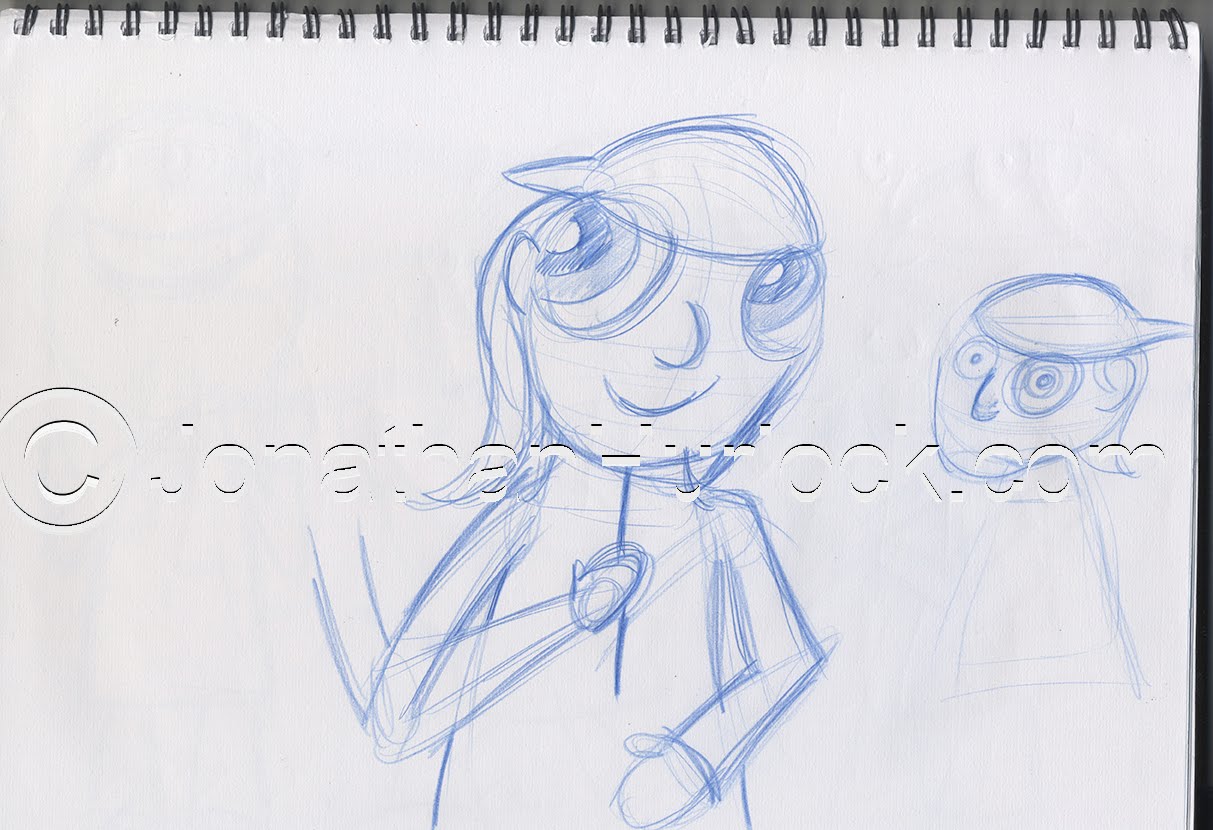
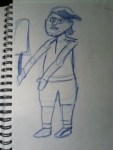
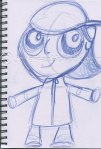
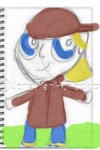
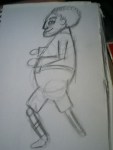
I started with the young character first, I wanted the character to be possibly be around the five or six years old mark. But, the first attemted I made him too old, I really wanted to make him cute.
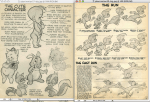
Then I researched more on character designs with cuteness in them and I looked at Powerpuff Girls and Dexters Laboratory as influences.
Also, then I look at Preston Blair’s Advanced Animation for ideas.
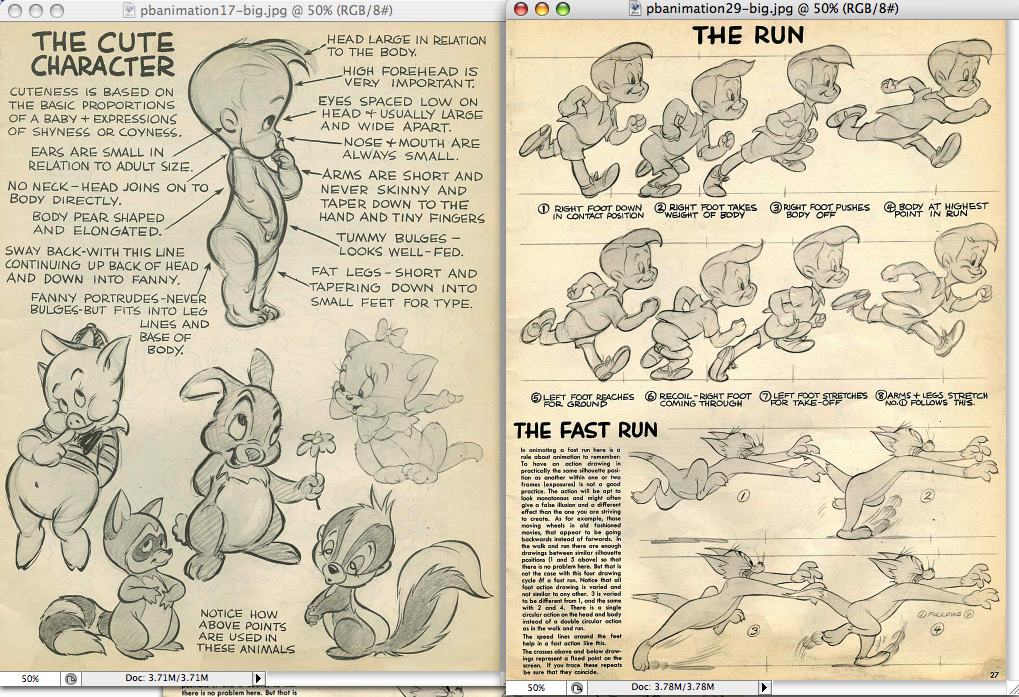
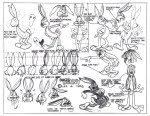
Then I looked at a character designers web-site to get some influences such as look at some Bugs Bunny design sheet below.

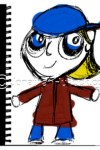
Then I restarted designing the young character once again and this time I felt this design worked better more cuter and more younger.


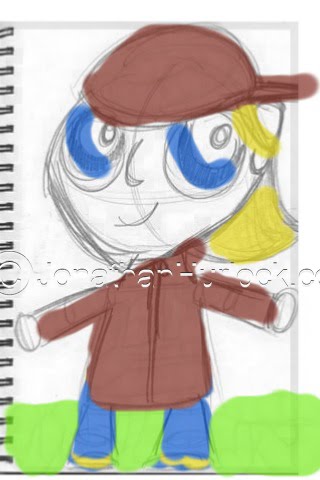
So therefore, I continue developing the young version of Kimi, which I called now on “Iceman” (nickname Kimi Raikkonen is usually called by the fans).


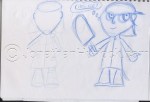
Then I started some early development of the two older characters.

Overall, a good start to my character designs. Also I felt that the lessons with Vincent Woodcock from last time out really helped me out for this project. More to come from this project.
Bye.


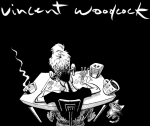
On beginning of week 7 we had a day lecture by character designer and animator Vincent Woodcock.


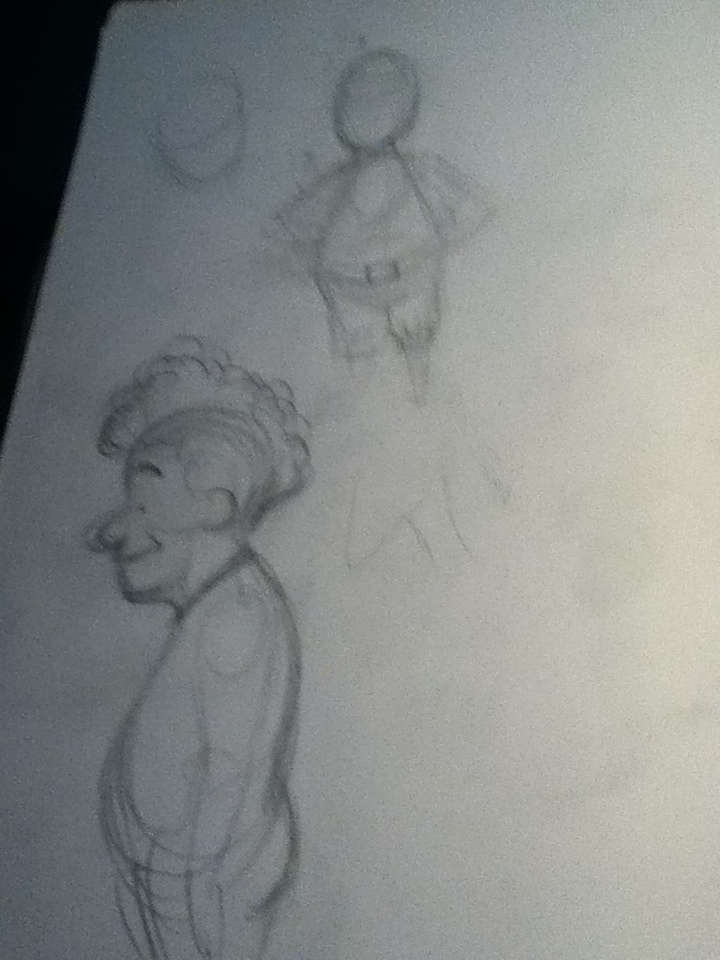
In the morning session, we started looking at the posture and the proportions of a human character by drawing it in a very simple way, which I felt this exercise worked a great effect way for me in my opinion. We looked at 3D shapes such as spheres, boxes and others to describe the different parts of the body.

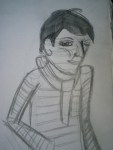
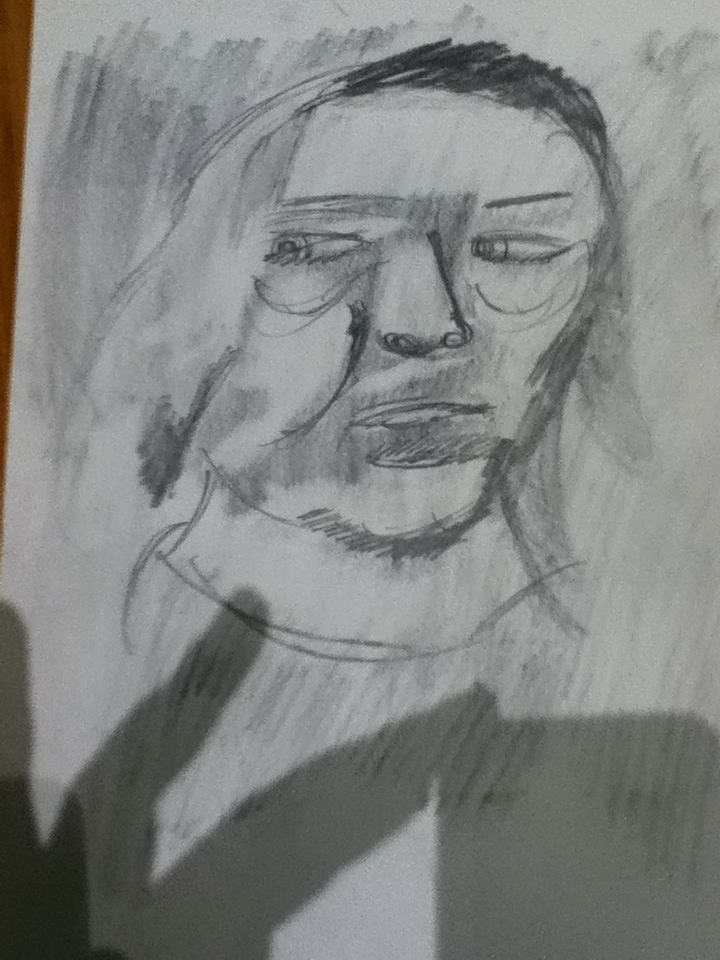
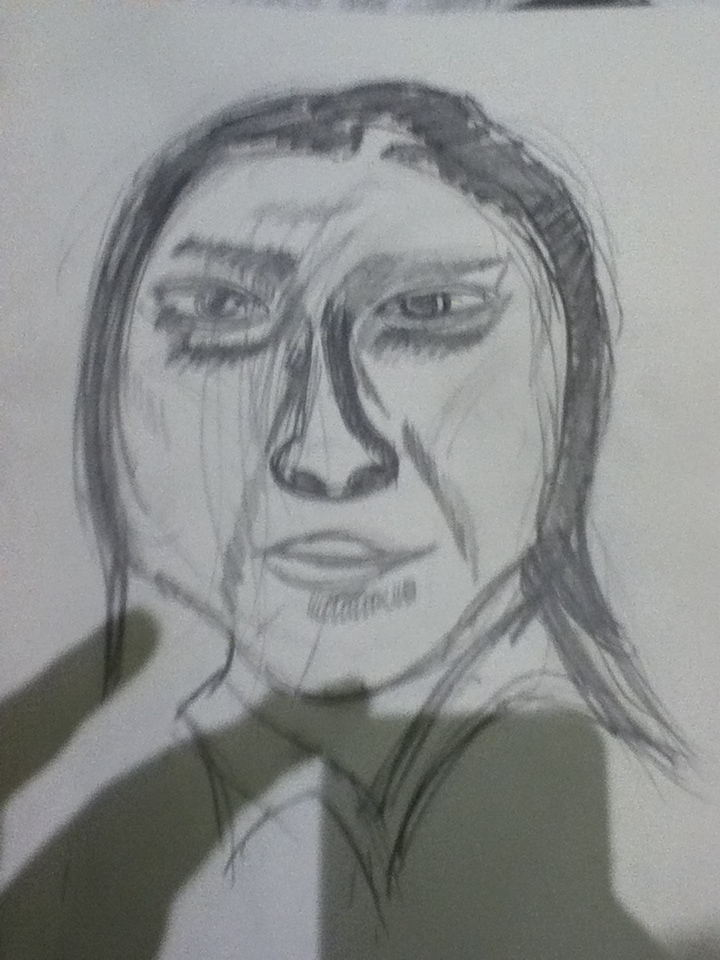
Then he talked about the characteristics of face and how they change from every different person. So, we had a try drawing each other.


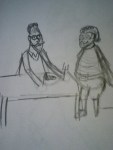
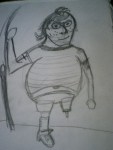
In the afternoon we created a character starting from some features the group decided. So we would design a 5 year-old fat and tattooed boy who got one leg and he fishes? We also tried to think about his opposite, so it could be an old, skinny who doesn’t like fish.


Then we had to look more into the proportions and try to be more detailed with the character designs and draw them in their poses.
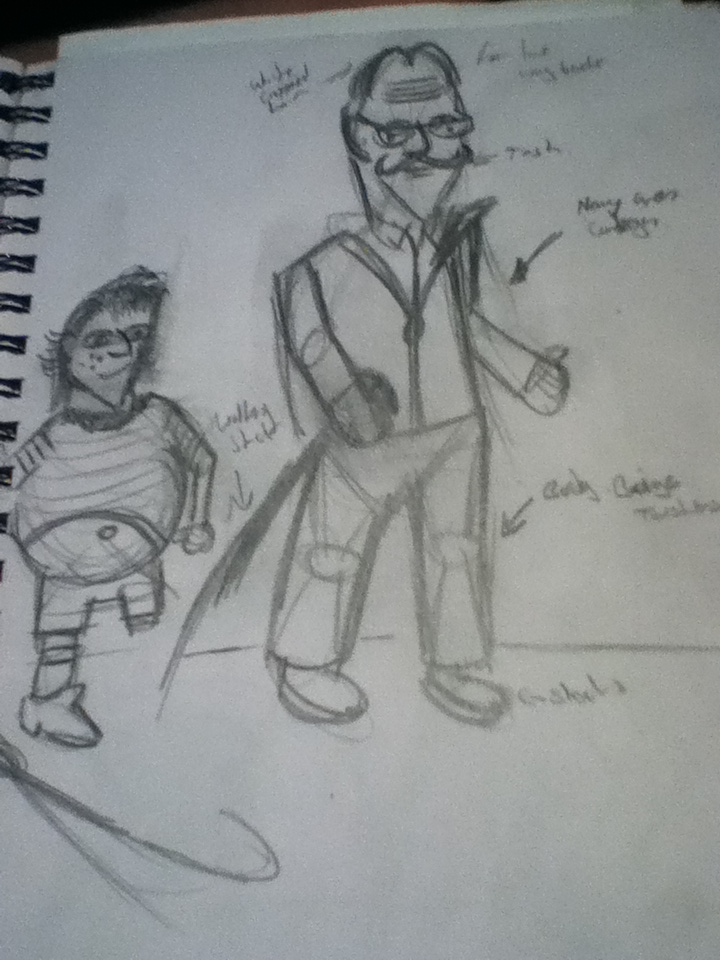
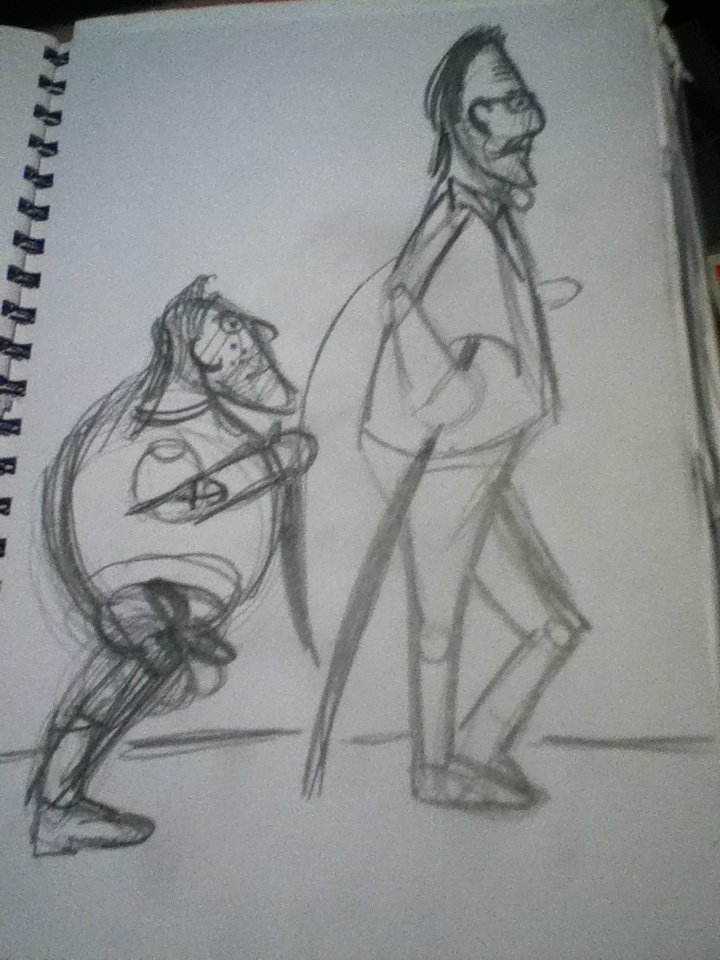
Finally, we had to make the characters interact into a scene. We had to imagine their reactions were as-well.

Overall, possibly a very good day, exercises work well, now I can take it into my characters design and my animations as-well with the weeks to come.
Bye.


This is my second post will of the two-parted post of my Followthrough test 2 part 2.
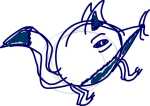
Then after deciding the creature I am animating. I gone into Flash and started to do the followthrough. I have used a graphics tablet for this exercise so it will not drawn from a mouse, So it would have my style of drawing.
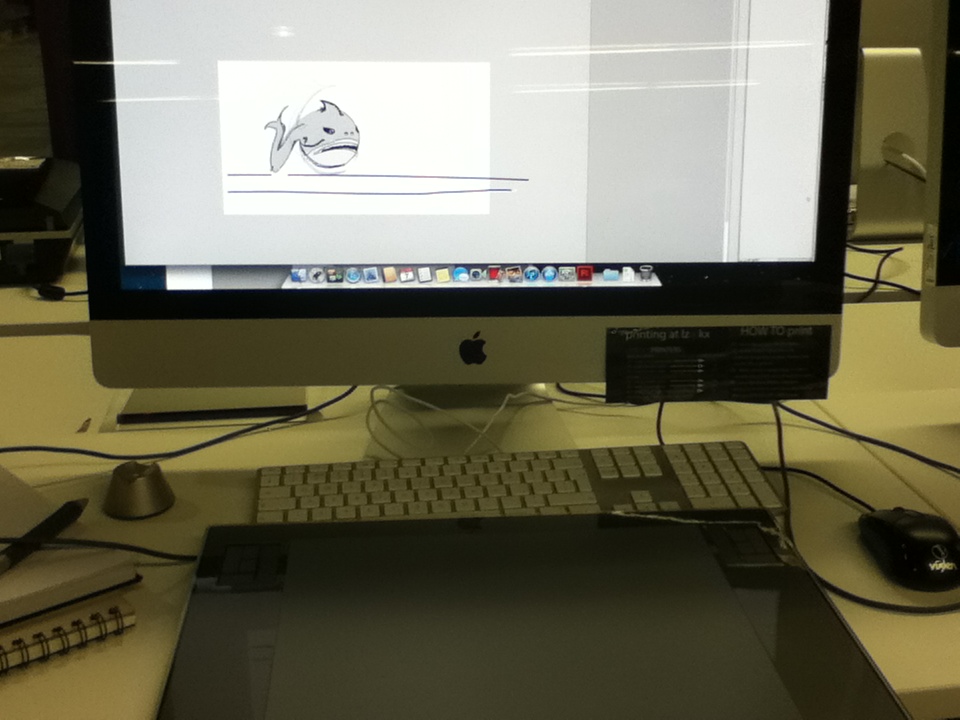
This is my first attempt on the followthrough animation I did in Adobe Flash.
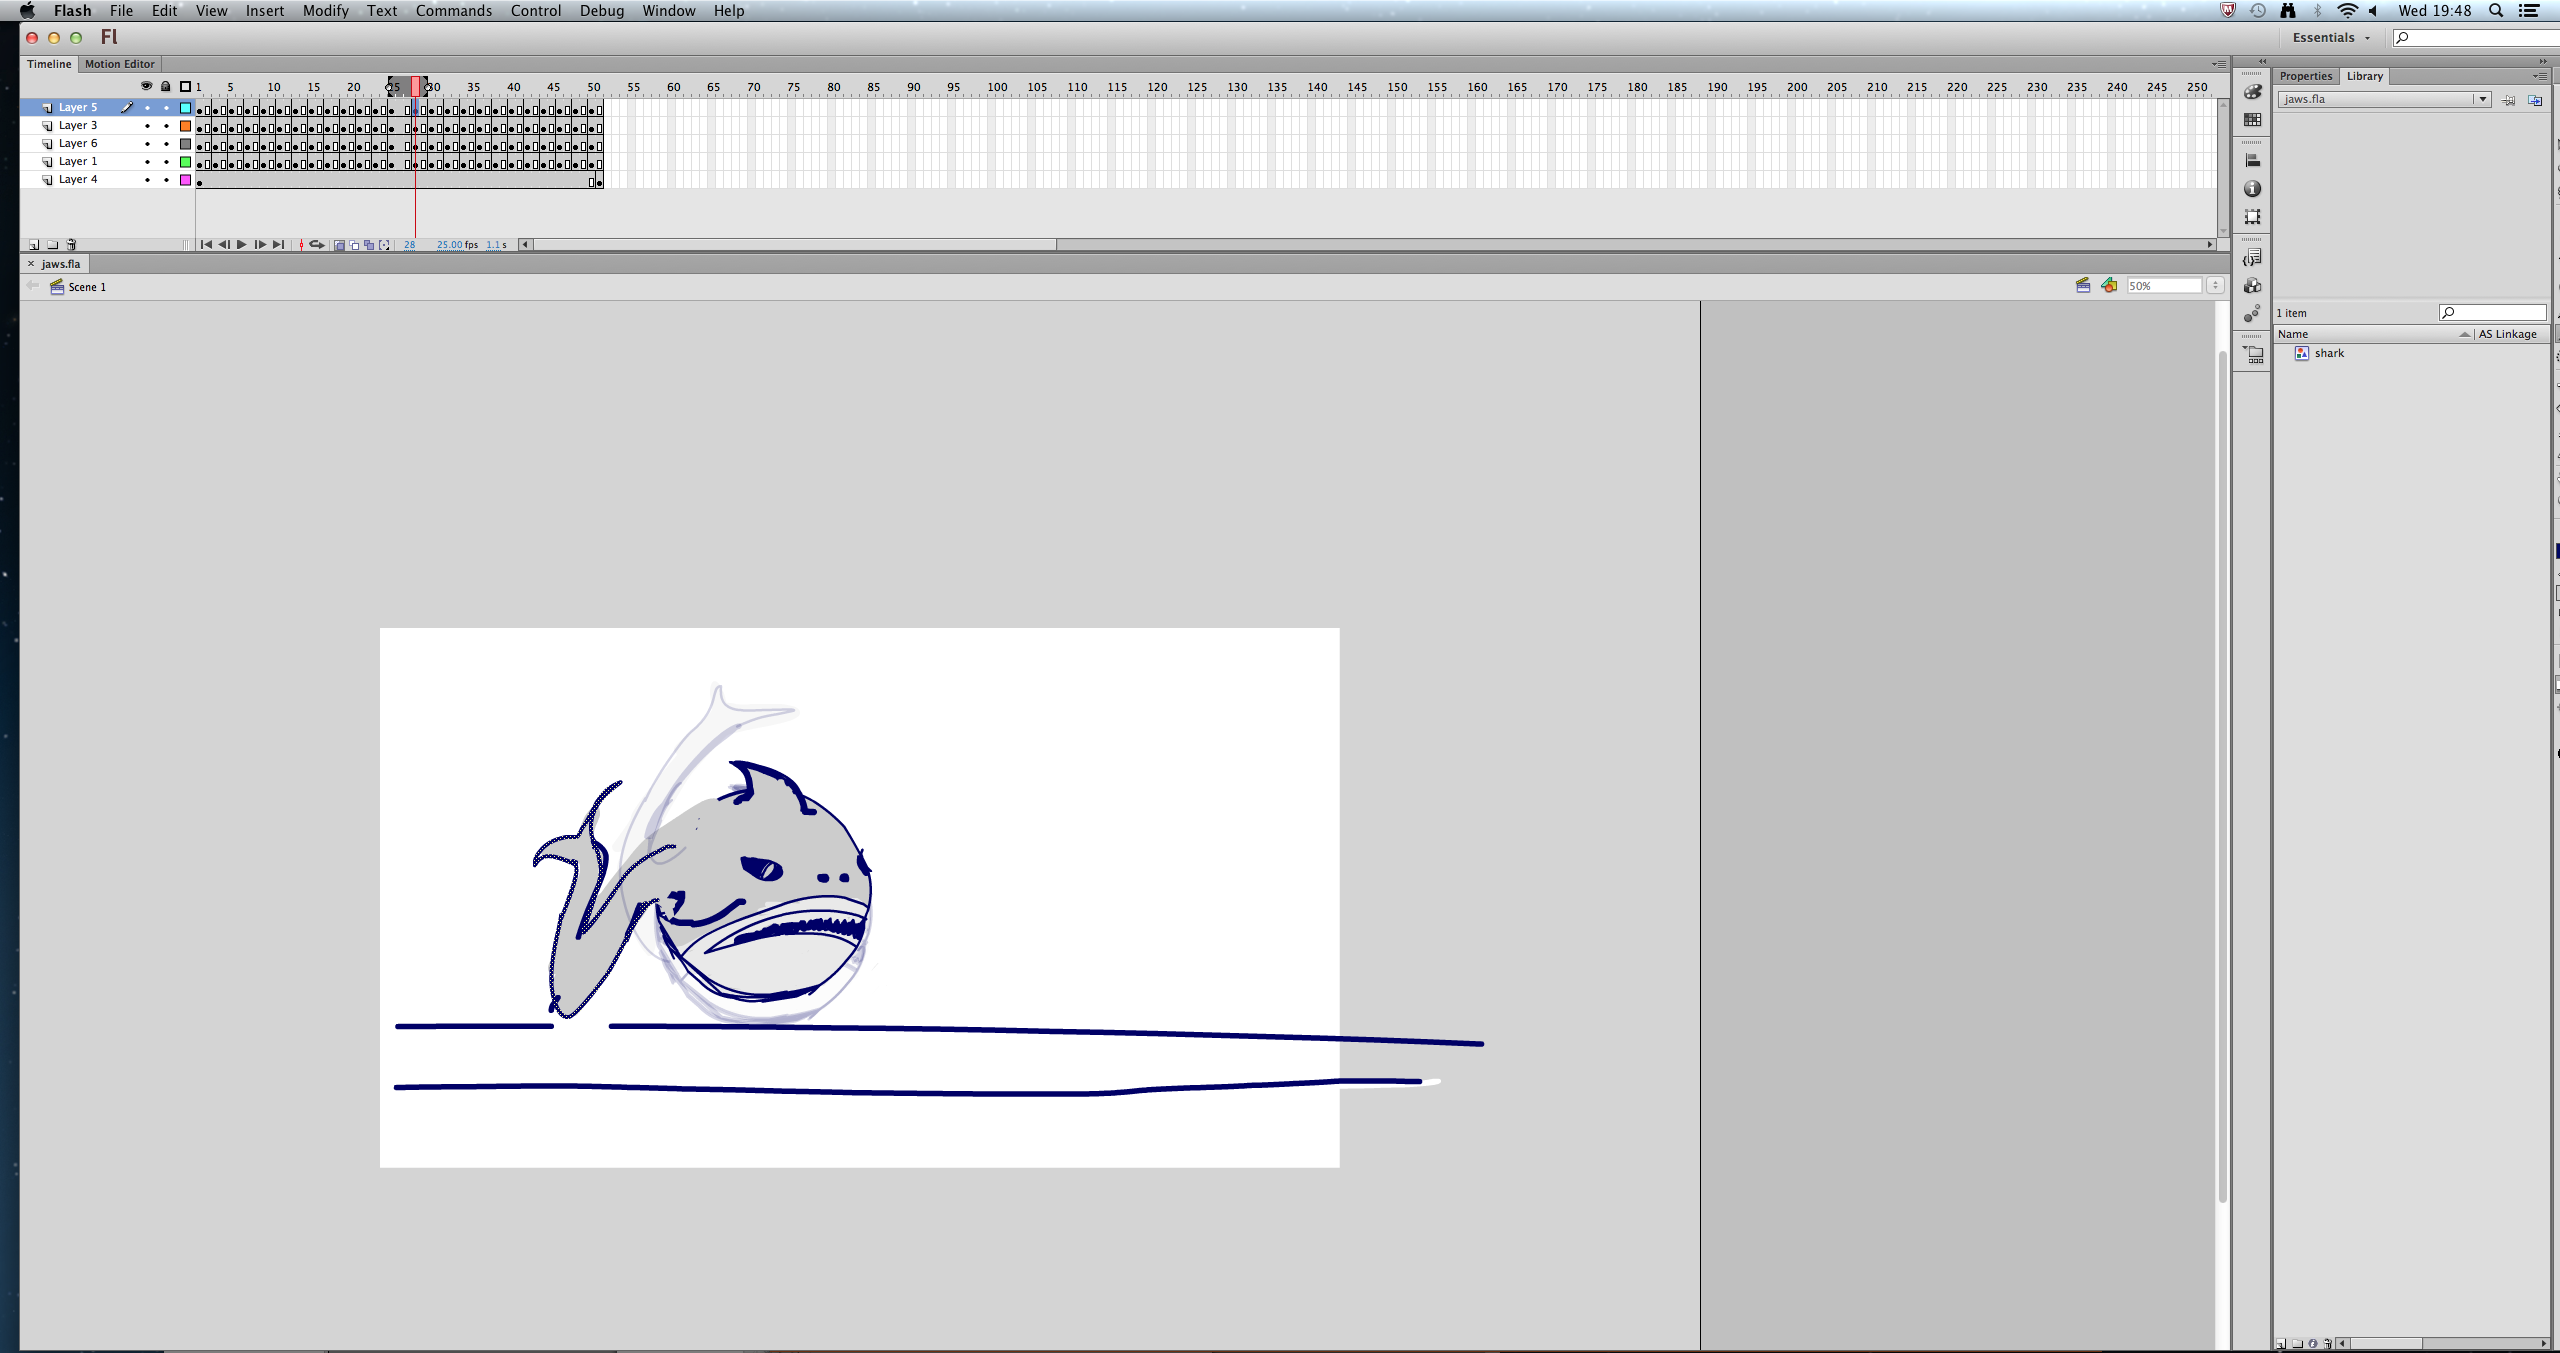
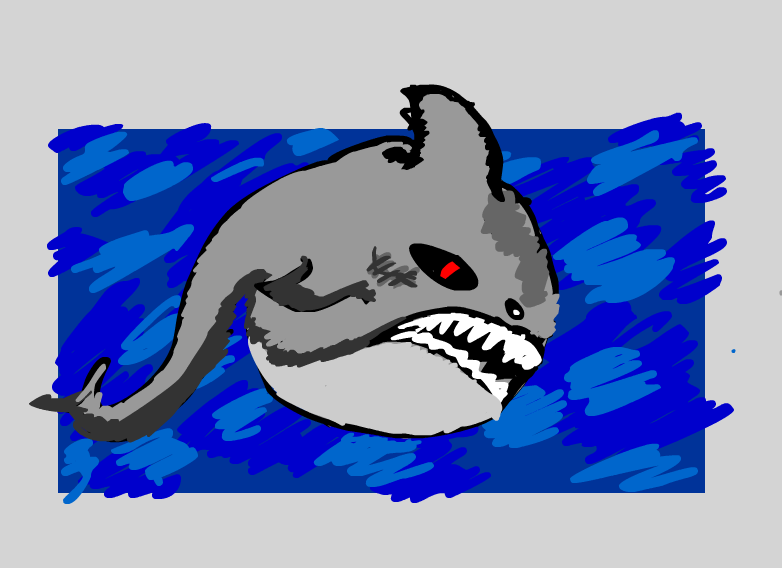
Then I went back into Flash and retouch the body and fin/tail to give it more of a smooth feel.
Then I exported the animation as a Quicktime, showed the animation to a few of my pears and said that I needed to improve on the Followthrough because its very rough at the moment.
I need to go back and develop the followthrough more in my opinion.
Bye.
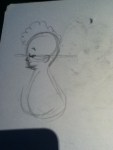
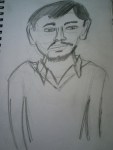
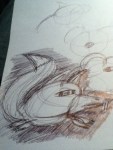
This post will be a two-part post. This is a continuation from the first Followthrough test from a few weeks back. I started off with some sketches of what my character may look like. I done some of my designs in my sketchbook and in Flash to see what the animal will look like below.


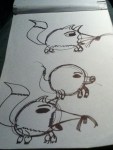


Bye.
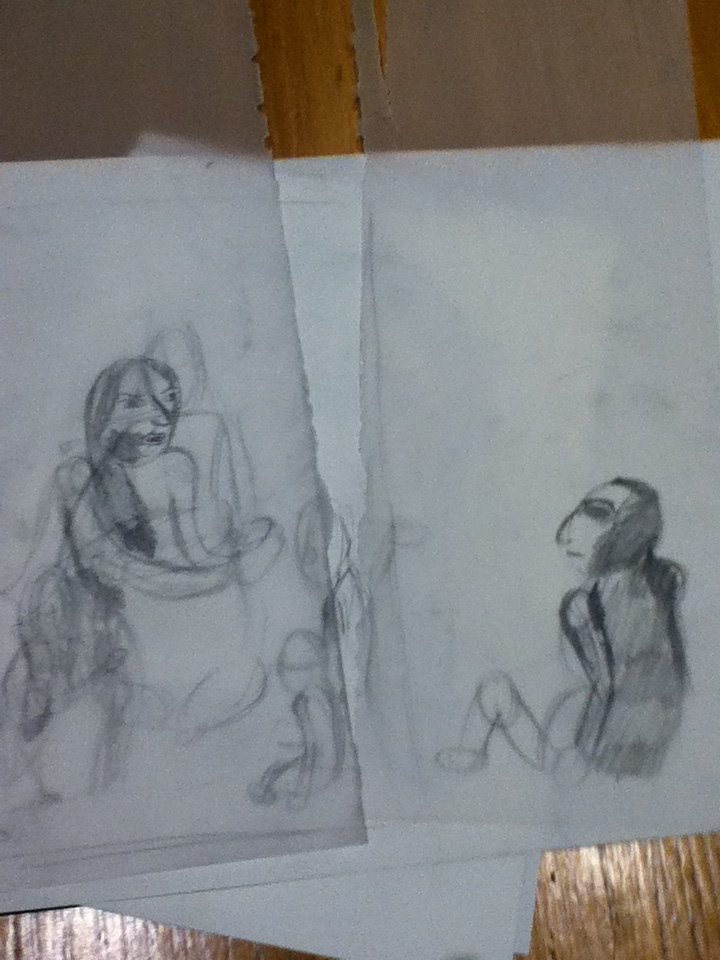
I’ve been to the National Gallery at Trafalgar Square this week (5/11/12), doing a few sketches of some of paintings inside the gallery which included sketching Leonardo da Vinci’s piece The Virgin of the Rocks (1483-1486). Also, done sketches of class mates as-well as these sketches below shows.


Bye.
Did a simple stop motion exercise using a computer program called Dragonframe. Dragonframe is a stop motion animation software for Mac and Windows/PC computers with using a digital still camera, video camera or a webcam and so forth.
![]()

")
Basically a quick half day project in random groups. I had four people in my group (included myself in the group of four). Got the idea done within minutes. A chocolate man created from M&M’s and chocolate buttons to a chocolate woman, basically a chocolate sex change animation.

When we took all the images down, and checked if the animation works. We exported the video to a Quicktime video file from Dragonframe to create this stop frame animation below.
End of that exercise.
Bye.
Fifth week on my MA Character Animation course. This week was how to animated a pull or a push and I went for a pull animation this week. I started off with a subject to film, so I will have something to animate with later on.
Then, I jumped onto a light box and then use the Flipbook program on the mac, to drawn down the frames to test if the pull worked well and looked if it’s right.
Then I went back onto a light box and try another pull. Then gone onto Flipbook on the mac, to drawn down the key-frames to test if the pull worked well and placed right before I drawn down the in-between to complete the drawn drawing down.
I decided that to continue with the pull to add the in-between frames that were missing. And needed to drawn in as this animation below show.
Then I gone into Adobe Flash and try to do this exercise once again with the pull. I partly traced/Rotoscop the model who was in my first video above. I added colour to give it a abstract/loose fill.
Overall, I felt this exercise worked than the lift exercise in my opinion. Because, I easily understand how to animate a pull rather than how to do a lift in an animation. Overall better week. End of that exercise.
Bye.
Forth week on my MA Character Animation course. This week was how to animated a lift, and personally a difficult exercise to do. Started off looking at people lifting heavy bowling balls and how to lift a heavy object and then sketch down the key-frames.


Then, I jumped onto a light box drawn down the keyframes down and then use the Flipbook program on the mac, to drawn down the frames to test if the keyframes worked. Which it didn’t felt that the keyframes didn’t work due to the lengths of the legs.
Then, I went into a 3D program called Maya3D. Possibly the only time I will be using this 3D program within the next two years. I downloaded a character who already model and rigged called Blake to do this animation. Instead of myself to created a model and rigging it, which will take some time to create.


Then in Maya, I created two different lifts were Blake lifts up the bowling ball. I felt the second animation below (lift3D v2) worked better, because the lifting of the bowling ball looked more natural to pick up in my opinion.
Then I gone into Adobe Flash and try to do this exercise once again with lifting, felt that the first flash animation didn’t work due to the body had different body sizes throughout the animation in my opinion.
The second go in flash, I had a looked at Richard Williams technique from his book (The Animators Survival Kit) and I traced/Rotoscop his model lifted the rock in flash and added some more frames in-between to give the animation a little more smoothness to the animation.
Overall, I felt this exercise was a difficult challenge to animate a lift in my opinion. Personally my animation out of the four was possibly be the second 3D animation because it look more natural to lift. End of that exercise.
Bye.
