Week 7: Vincent Woodcock, character and animation designer class

On beginning of week 7 we had a day lecture by character designer and animator Vincent Woodcock.

vw002 vincent 001

Photo 15-12-2012 15 51 21

Photo 15-12-2012 15 51 31

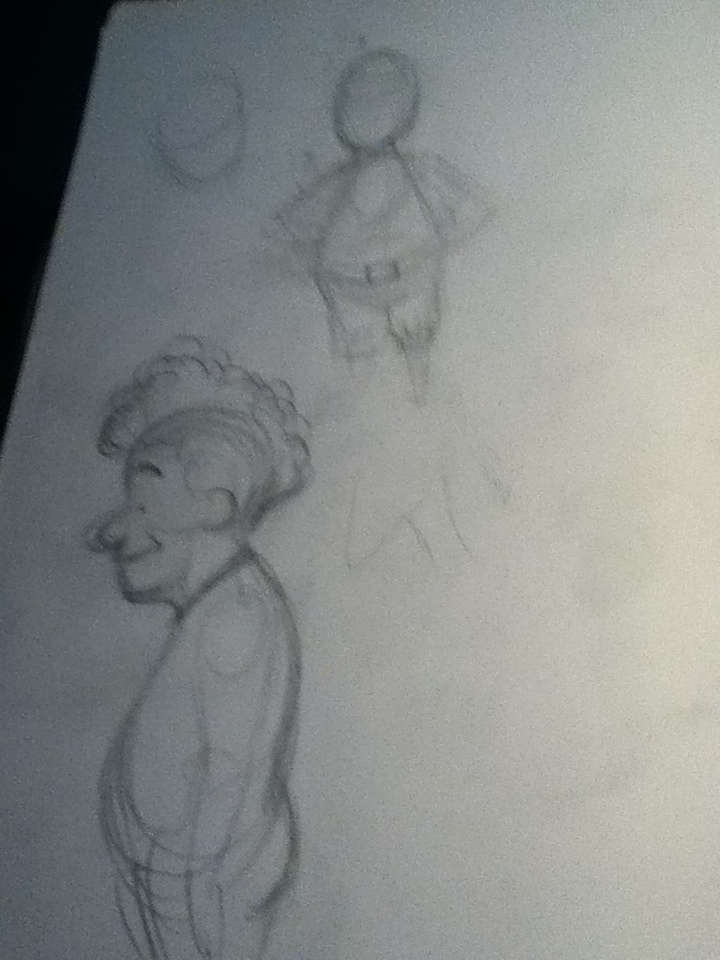
In the morning session, we started looking at the posture and the proportions of a human character by drawing it in a very simple way, which I felt this exercise worked a great effect way for me in my opinion. We looked at 3D shapes such as spheres, boxes and others to describe the different parts of the body.

Photo 15-12-2012 15 51 08

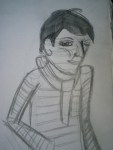
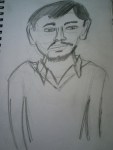
Then he talked about the characteristics of face and how they change from every different person. So, we had a try drawing each other.

Photo 15-12-2012 15 50 36

Photo 15-12-2012 15 50 43

Photo 15-12-2012 15 50 51

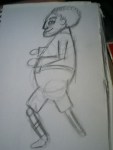
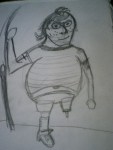
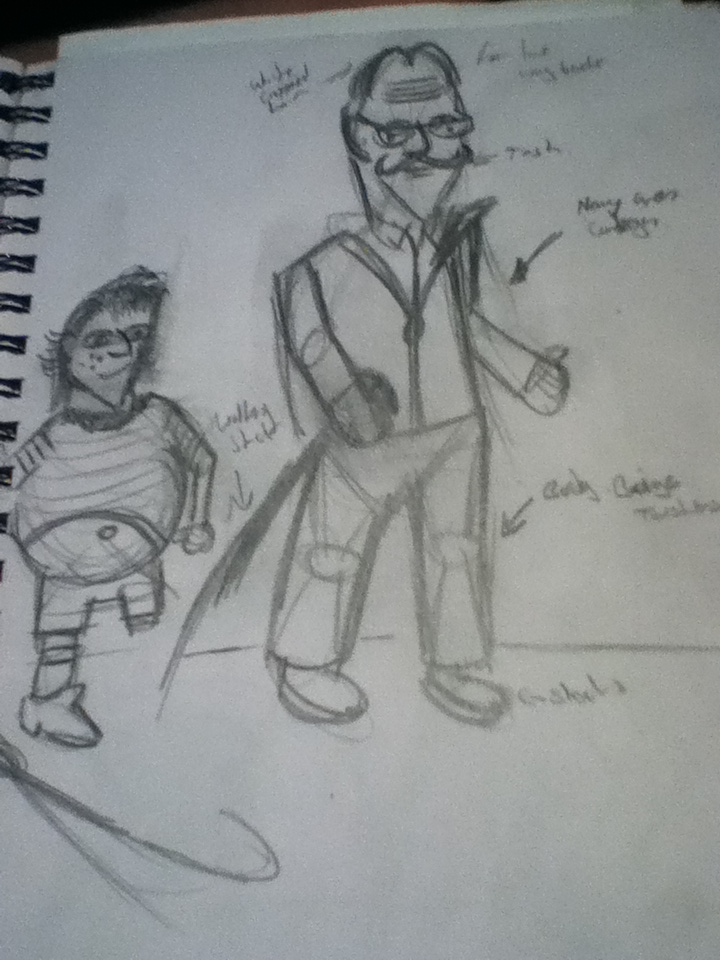
In the afternoon we created a character starting from some features the group decided. So we would design a 5 year-old fat and tattooed boy who got one leg and he fishes? We also tried to think about his opposite, so it could be an old, skinny who doesn’t like fish.

Photo 15-12-2012 15 51 14

Photo 15-12-2012 15 51 57

Then we had to look more into the proportions and try to be more detailed with the character designs and draw them in their poses.

Photo 15-12-2012 15 51 35

Photo 15-12-2012 15 51 47

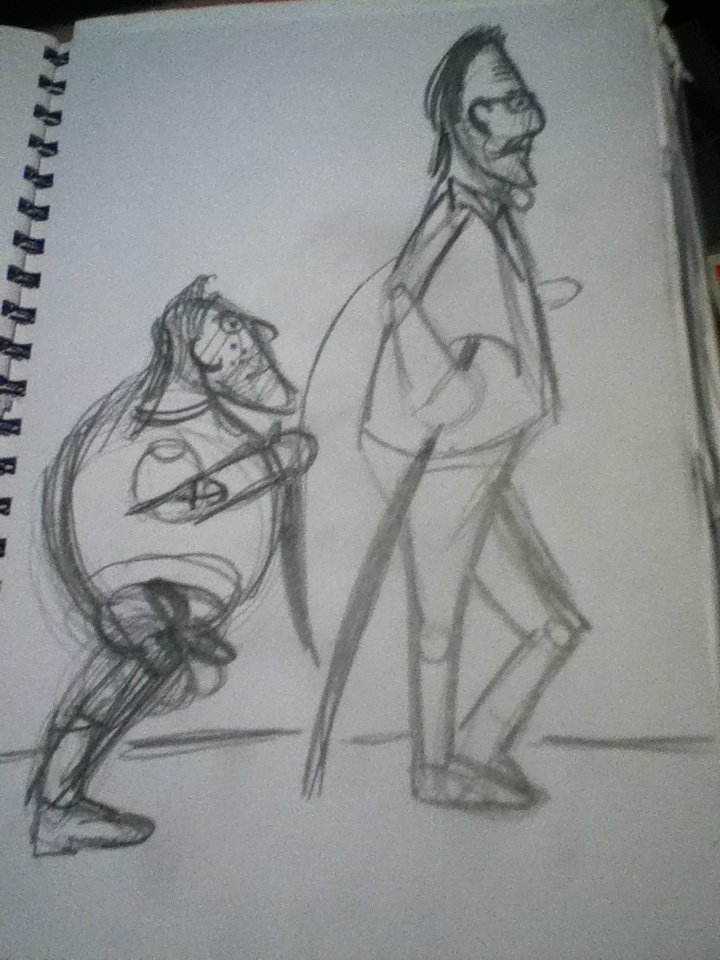
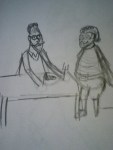
Finally, we had to make the characters interact into a scene. We had to imagine their reactions were as-well.

Photo 15-12-2012 15 51 51

Overall, possibly a very good day, exercises work well, now I can take it into my characters design and my animations as-well with the weeks to come.

Bye.

Followthrough test 2 part 2

This is my second post will of the two-parted post of my Followthrough test 2 part 2.

Then after deciding the creature I am animating. I gone into Flash and started to do the followthrough. I have used a graphics tablet for this exercise so it will not drawn from a mouse, So it would have my style of drawing.

Photo 07-11-2012 19 48 52

This is my first attempt on the followthrough animation I did in Adobe Flash.

Then I went back into Flash and retouch the body and fin/tail to give it more of a smooth feel.

Screen Shot 2012-11-07 at 19.48.21

Then I exported the animation as a Quicktime, showed the animation to a few of my pears and said that I needed to improve on the Followthrough because its very rough at the moment.

I need to go back and develop the followthrough more in my opinion.

Bye.

Followthrough test 2 part 1

This post will be a two-part post. This is a continuation from the first Followthrough test from a few weeks back. I started off with some sketches of what my character may look like. I done some of my designs in my sketchbook and in Flash to see what the animal will look like below.


I decided to choose the shark, because I felt that the fin/tale would work well with the followthrough, and the shark doesn’t have legs so it would be an easy animation to drawn down and it would give an different edge to my animation.

Screen shot 2012-11-06 at 4.40.33 PM

Bye.

Pull!!!

Fifth week on my MA Character Animation course. This week was how to animated a pull or a push and I went for a pull animation this week. I started off with a subject to film, so I will have something to animate with later on.

Then, I jumped onto a light box and then use the Flipbook program on the mac, to drawn down the frames to test if the pull worked well and looked if it’s right.

Then I went back onto a light box and try another pull. Then gone onto Flipbook on the mac, to drawn down the key-frames to test if the pull worked well and placed right before I drawn down the in-between to complete the drawn drawing down.

I decided that to continue with the pull to add the in-between frames that were missing. And needed to drawn in as this animation below show.

Then I gone into Adobe Flash and try to do this exercise once again with the pull. I partly traced/Rotoscop the model who was in my first video above. I added colour to give it a abstract/loose fill.

Overall, I felt this exercise worked than the lift exercise in my opinion. Because, I easily understand how to animate a pull rather than how to do a lift in an animation. Overall better week. End of that exercise.

Bye.

Followthrough test

This is a followthrough test, I will come back to this at a later date. But for now, below I started with a balloon with string as a basic exercise using a light box and Flipbook program on the mac to check if this basic exercise does work.

Then, I tried it out a plain spider, using the same technique and using a sharpie pen instead of a pencil to draw it down.

I need to back and to develop and maybe use a different animal instead in my opinion.

Bye.

Donny and Pete vs Max and Monkey or is it?

Last year for my Final Major Project for Animation I created a two minute animation called ‘Donny and Pete’ (2011), were you have a smart cat called Pete with a dumb human who knows nothing called Donny.

Donny and Pete

If I could have put this in my research I would have I saw this last year on the Aniboom Youtube page called: ‘Max and Monkey- A Bromance Aniboom Animation’ and was created by Alex Fass (web-site).

Max and Monkey- A Bromance Aniboom Animation

Alex Fass stated on his own web-site that the “Max & Monkey” concept was created both for the production and the pitch of an adult humored, animated television series. Max is a not so intelligent person, while Monkey is the intelligent one out of the pair of them, possibly the same characteristics as my characters, I think Donny is more stupid than Max in my opinion.

Max & Monkey was created by using three programmes:Autodesk Maya, Adobe Illustrator and Adobe Photoshop. Also, using Cintiq, a graphic tablet you can draw into Illustrator and Photoshop instead of using a mouse.


My thoughts on the two animations. The first animation above have it’s own unique style with Maya, Illustrator and Photoshop altogether. The second animation below, if I didn’t know that the animation was created in Photoshop, Illustrator and Maya I think the animator was nearly copping my style with Donny and Pete. But, yet again I don’t believe his copping by style at all. But, personally the first animation has its own style more on its own compared to the second animation which was a bit more flat without the 3D style.
Anyway, great animations altogether.

Max and Monkey Ep. 2 – An Odd Couple Aniboom Animation by Alex Fass

Bye.

The Art of Evolution of the Formula 1 Car – Animated

Last year I entered myself in the Red Bull Canimation competition back in November 2011. I was influenced by the Red Bull Racing team and Sebastian Vettel recent glory for my animation.

Most recently, I have seen this is animation below, created by Animateer and Illustrator designer Ruf Blacklock.

The creator of the animation Ruf Blacklock, who is a big fan of Formula 1 himself, wanted to created an animation that shows the evolution of Formula 1 car from the last 62 years and has not been shown on any video streaming site until now. Each car is the winning chassis from the respective seasons, for examples the 1978 Lotus 79 and 1983 Brabham BT52 was drawn in. Even the evolution of the steering wheels from 1950s to the present day was included. Also, the animation was created in Adobe After Effects.

My thoughts on the animation overall, I felt that the animation worked really well throughout the 60 seconds. I felt the background music and sound effects worked really well. The sound effects were spot on with the noise of the formula one car of present. I felt the styling work well and using simple colours, reminds the styling of the Tron films. The big positive point I felt that the timing was right, if it was longer than 90 second I think it might not work. If it was 45 seconds it would have been too short for the animation, so a minute was spot on in my opinion. Is their any negative points, nothing I can really notice.

Overall, I enjoyed the animation altogether. Despite, I am a big Formula 1 fan myself.

Bye.

‘Our New World’ animation

This is an animation I have recently seen, I was very impressed by it. The animation is called ‘our new world’. Took the animator over two years to create/animate. When I first saw it I thought it was created with Maya. But, the creator said it was created on Blender 3D programme. Here is a link from the creator, who’s explains about the animation more on how he create the animation.

My thoughts on the animation, I felt that the narrative worked really well with the animation. Also, I felt the use of black and white colours and then adding red to animation made it more like something out of a Frank Miller’s Sin City comic book styling to the animation. But, overall I enjoyed the animation, very cleaver animation in my opinion the creator has created.

That is all. Bye.

A drawing/illustrated post with super heroes in it

First proper post/blog of March. Starting of with a different post today. This what I have done from last few months. Influenced by a few images from the Superman/Batman comic books.  Draw them first by hand, then scanned in, then altered in Photoshop.

I was influenced by the Pop Art movement, Artist such as Roy Liechtenstein and Andy Warhol. Also, I was influenced by Frank Miller’s Sin City Comic book style of black and white images with adding limited colour.

The original drawings was created by using HB pencil and a sharpie pen.

Then adding the blue and red by using cheap marker pens to draw in.

Now, I went into Photoshop by scanning in the original black and white image. Then in Photoshop I threshold the image to black and white. Then, with the layer went to select menu – click onto colour range, put the fuzziness to 100% clicked OK then delete the white  bits of the image as the image below shows.  

Then in a few layers below the main layer added simple colours to the image in each layer.

After I added the colour, then saved as a jpg file. This is the finish piece.

Also, I’ve did the same technique to Batman image as-well as Superman above.

So here is the finish product of Superman and Batman together.

That is all. Bye.