Straight Edge MMA Animation

I went back into CelAction last week with a character that I’ve made in Illustrator. And created this animation below.

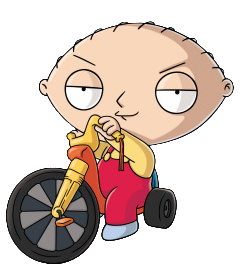
I got my influence from current UFC fighter CM Punk and Family Guy’s Stewie Griffin.

Stewie_Griffin

CM_Punk_11

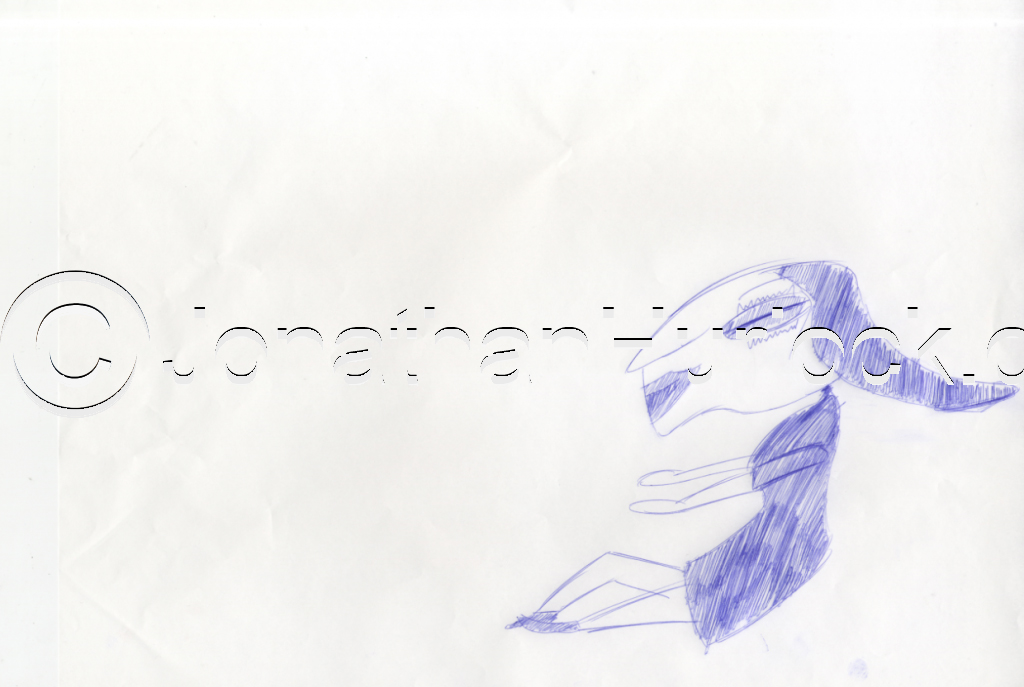
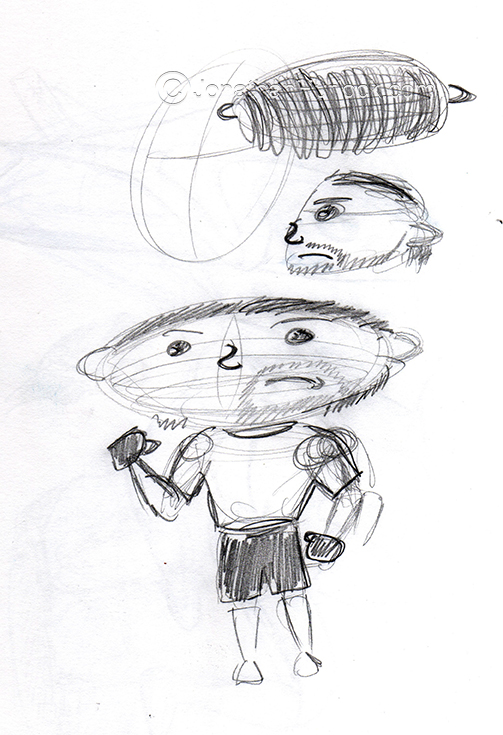
Then I done a few rough sketches of the character.

sm chump 1

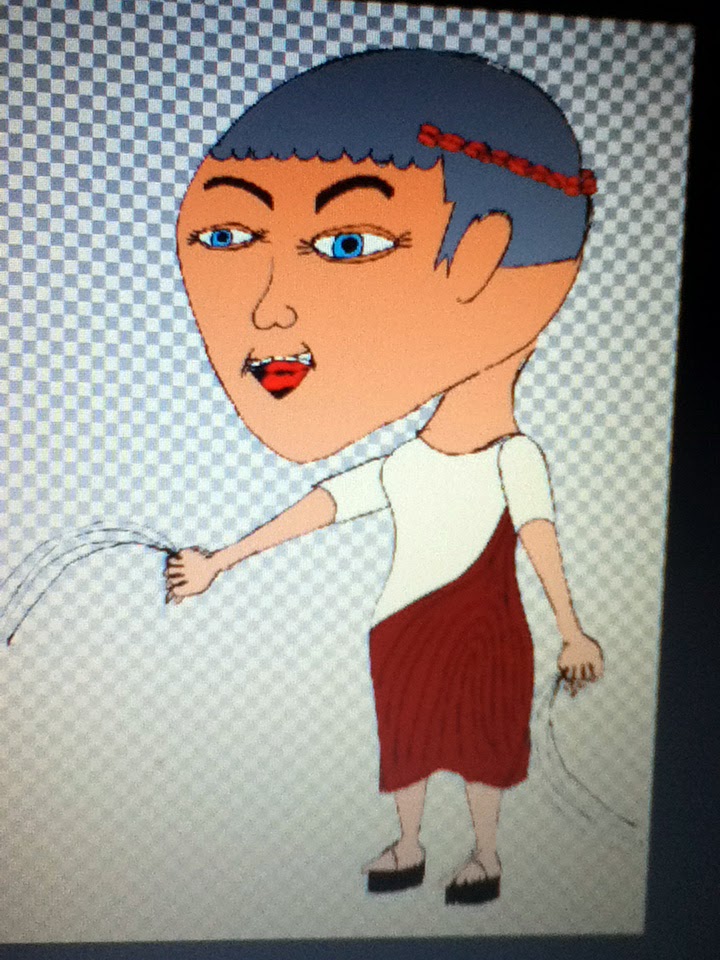
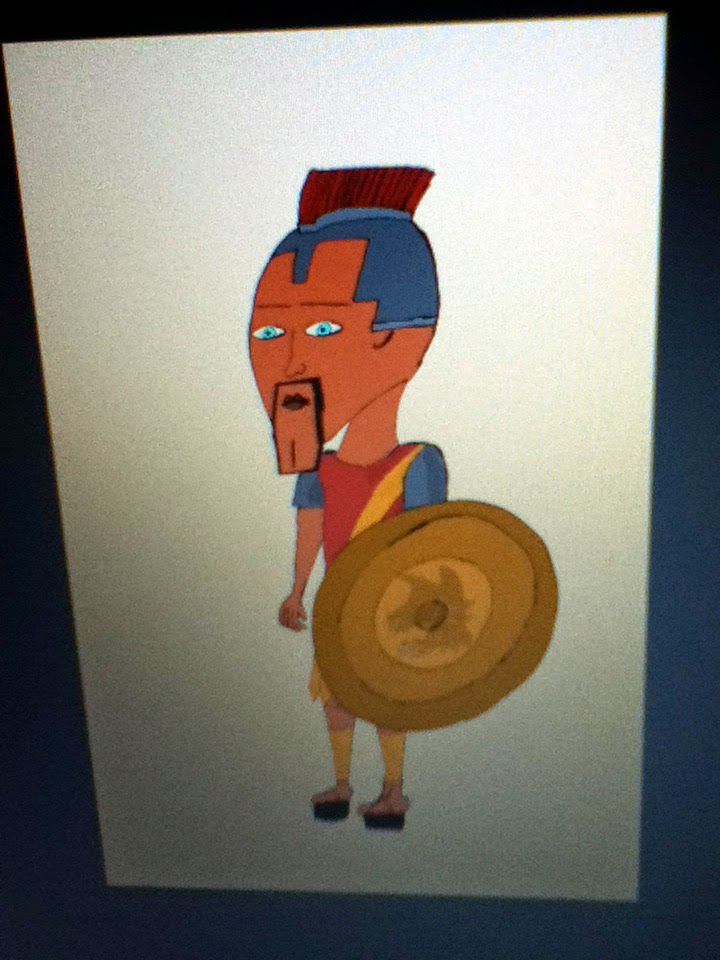
Then, I went into Illustrator to create the character, then export it to a Photoshop file.

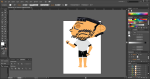
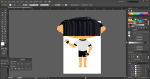
Then in CelAction, after the character was rigged, I played around with the character and went back into Illustrator and alter the character that needed to be altered with such as the body. And went back into CelAction until I got it right what I wanted to do such as getting the punchline right which was vital.

sm chump prem ss

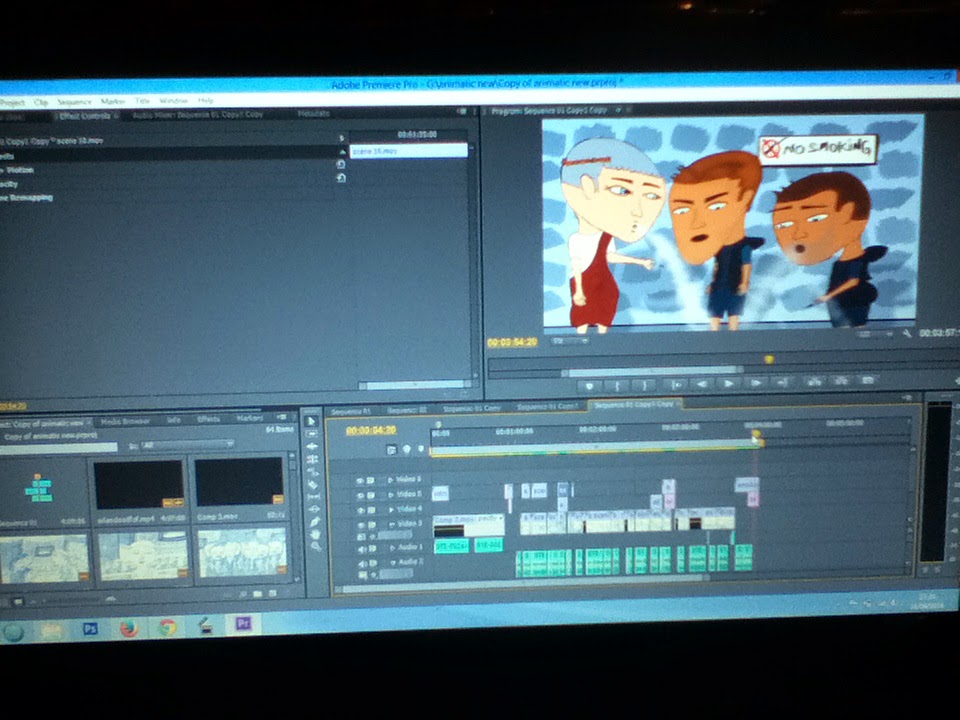
Then I exported the file and added some titles in Premiere for the final animation.

More to come, with different characters.

Bye.

Photoshop Hell! three weeks of work

First post for a while, and for the last three weeks I have been working hard on the final project.

Photo 14-04-2014 21 29 15

The great thing is that the backgrounds are mainly sorted with a little help form my first year called Sasha, who has worked with backgrounds in Photoshop and coloured them in within two weeks which is great.

Picture 23

As for main characters they are sorted, with just the background characters and animals to draw. But, characters like Claudius,

Photo 14-04-2014 21 23 18

…The Dave of Dagenham…

Photo 14-04-2014 21 23 35

…The Ray of Romford…

Photo 14-04-2014 21 23 04

Photo 14-04-2014 21 25 03

and the Romans are drawn, scanned in, and glued in Photoshop, after weeks of doing this in Photoshop and basically being fed up with this in Photoshop, as you guess the title is called Photoshop Hell!

My big pursued from the last month is buying CelAction2D on my Toshiba laptop for £360 at a discount price which I’ve did.

claudius-test-screen-shot

After buying it, I’ve started to animate with it, which includes from the last eight days, 57 seconds worth of animation from the last week.

Photo 14-04-2014 21 29 15

With seven weeks to go I’ve got 3 minutes worth of animating to do to even finish the animation, so basically that is 26.5 seconds a week worth of animating to do. More to come I hope.

Bye.

One pissed off Horse (animated that is)

Final bit of my animation I need to do is the pissed off horse scene were my lead horse is pissed off by driver fixing the wheel and horse thinks his stupid. So I started off with the key-frames into the main animation first.

After that, I  gone onto the lightbox and started on my drawing the in-between frames, then jump onto Flipbook, to check out if the in-between frames worked.

Also, I played around with some frames and delete them as I felt the animation could be too smooth and too slow.

After some feedback, the first option was better than the second option. So I scan the images and jumped into Photoshop to paint the scene. Place the frames into After Effects for the final animation.

Bye.

A Fashion animation journal, week two

Second post of Fashion fall animation.

Day 6: 28/1/13

I showed off my rough edit, three things I need to improve on, one was make the crack sign more larger, the other was make the fall faster and thirdly add another frame for the impact when she hit the floor

Day 6: 28/1/13, Day 7: 29/1/13 and Day 8: 30/1/13

After this, I went back onto the light-box to draw the whole of the animation with a few cheap blue biro’s instead of using a blue pencil, which will give an edgy style to my animation.

Screen-shot-2013-02-26-at-14.43.19

This took around three days to draw the whole animation. After I drawn all of these I scanned them into Photoshop. However I wasn’t satisfied with the last few frames with the laugh. I felt that the head needed to move more. So therefore I jumped back onto the light-box re-edit the last few frames, then re-scanned into Photoshop.

Screen-shot-2013-02-26-at-14.43.55

Day 9: 31/1/13, Day 10: 1/2/13 and Day 11: 2/2/13

After all the images were scanned in, I went back into Photoshop and retouched the images and delete the backgrounds which had white in. After this was complete, I took all the images into Flash and place all the images onto the timeline. After that was done, I exported the movie as a quicktime file. Here is the animation below of the final piece.

Overall, great challenge to do within in two weeks to animate.

Bye.

Donny and Pete vs Max and Monkey or is it?

Last year for my Final Major Project for Animation I created a two minute animation called ‘Donny and Pete’ (2011), were you have a smart cat called Pete with a dumb human who knows nothing called Donny.

Donny and Pete

If I could have put this in my research I would have I saw this last year on the Aniboom Youtube page called: ‘Max and Monkey- A Bromance Aniboom Animation’ and was created by Alex Fass (web-site).

Max and Monkey- A Bromance Aniboom Animation

Alex Fass stated on his own web-site that the “Max & Monkey” concept was created both for the production and the pitch of an adult humored, animated television series. Max is a not so intelligent person, while Monkey is the intelligent one out of the pair of them, possibly the same characteristics as my characters, I think Donny is more stupid than Max in my opinion.

Max & Monkey was created by using three programmes:Autodesk Maya, Adobe Illustrator and Adobe Photoshop. Also, using Cintiq, a graphic tablet you can draw into Illustrator and Photoshop instead of using a mouse.


My thoughts on the two animations. The first animation above have it’s own unique style with Maya, Illustrator and Photoshop altogether. The second animation below, if I didn’t know that the animation was created in Photoshop, Illustrator and Maya I think the animator was nearly copping my style with Donny and Pete. But, yet again I don’t believe his copping by style at all. But, personally the first animation has its own style more on its own compared to the second animation which was a bit more flat without the 3D style.
Anyway, great animations altogether.

Max and Monkey Ep. 2 – An Odd Couple Aniboom Animation by Alex Fass

Bye.

GTO art cars from Adobe Ideas I’ve created

Second post/blog of March. This what I have done from last few months ago on my iPod touch. Influenced by a few images from the Superman/Batman comic books. Draw them first by hand, then scanned in, then altered in Photoshop.

There was an app for free on i-Tunes called Adobe Ideas for the iPhone (now cost £2.99 for the app nowadays) which I’ve done some drawings perviously I’ve done on my iPod Touch.

I was Influenced by the image of the Ferrari 250 GTO to created it in Adobe Ideas.

I started with the image behind as a template, draw in the basic colours onto another layer.

Then I remove/hide the real image reappear as a reference on in a while. Then add more colour to the main image.

Then re-tidy the details/adding and removing colour of the car with a bit of trail and error. Some didn’t work. But, is developing the piece.

Add some details to the bonnet.

Add some more detail, adding/replace colour.

Add the Ferrari logo on the side of the car.

Then retouch the front end of he car again for the finish piece of the 250 GTO.

Then I done this with the Ferrari 288 GTO.

And the Ferrari 599 GTO too.

So I take all three GTO cars into Photoshop for a little altering on angles of the cars. Saved as as a jpg file. So here is the finish product of Ferrari GTOs’ below.

That is all. Bye.

A drawing/illustrated post with super heroes in it

First proper post/blog of March. Starting of with a different post today. This what I have done from last few months. Influenced by a few images from the Superman/Batman comic books.  Draw them first by hand, then scanned in, then altered in Photoshop.

I was influenced by the Pop Art movement, Artist such as Roy Liechtenstein and Andy Warhol. Also, I was influenced by Frank Miller’s Sin City Comic book style of black and white images with adding limited colour.

The original drawings was created by using HB pencil and a sharpie pen.

Then adding the blue and red by using cheap marker pens to draw in.

Now, I went into Photoshop by scanning in the original black and white image. Then in Photoshop I threshold the image to black and white. Then, with the layer went to select menu – click onto colour range, put the fuzziness to 100% clicked OK then delete the white  bits of the image as the image below shows.  

Then in a few layers below the main layer added simple colours to the image in each layer.

After I added the colour, then saved as a jpg file. This is the finish piece.

Also, I’ve did the same technique to Batman image as-well as Superman above.

So here is the finish product of Superman and Batman together.

That is all. Bye.

This is for anyone if you got any kind 3D glasses, you have got to try this out

First proper post/blog of 2012. Starting of with something completely different. This what I have done in my down time since Christmas a 3D image creating from Photoshop.

I was very influence by an image which was created by friend below on some dolls from the Playsation 3 game ‘Little Big Planet’.

So I was Influenced by this, so I want to a few web-sites to find some tutorials, this link next to me was the best tutorial for this exercise:http://www.photoshoplady.com/tutorial/apply-3d-effect-on-movie-poster/3654

First I created this imaage. Inspired by a racing car livery on another car. The original photo was taken in a market town in Essex. Then the image was imported into Adobe Photoshop and then traced and improved by using different filters, layers and techniques to create the image above.

Afterwards, gone onto this web-site:http://www.photoshoplady.com/tutorial/apply-3d-effect-on-movie-poster/3654 to create the image below, it took a few times in Photoshop to understand the tutorial. I felt this tutorial would work better with a real photo, rather than something was created in Photoshop, in my opinion. So enjoy the image folks.

End of blog for now. New post soon. That is all, Bye.

Red Bull Canimation finish product

I recently made a new animation for the Red Bull Canimation competition. Please watch it  and sharing the video with Friends and Family, just by clicking this link to watch it on the Vimeo site. Or watch bellow (by the way, you can watch it in HD). So enjoy my animation.

That is all. Bye.